Air Conditioning! Someone may say that it is an absolute requirement in Texas. That someone is me. So going 8 years in Texas without working AC has basically limited the Stealth’s usage to just the winter… if it was hotter than mid 80’s I didn’t want to be in the stealth. It’s as simple as that.
The back story was the AC on this car has always been a shit show. I bought the car in fall of 2002. The AC gave out within the first summer. It was replaced with another by a local shop. That one failed within a few months. The shop wouldn’t cover the labor (which was half the cost) so I had them evacuate the system and I decided to do it myself. It worked ok for a while. It clearly had a leak and I had to use a bottle to fill it up from time to time.
I would argue sometime in the 2010-2012 time range, I had a new error come up on the AC. It would show the “snowflake” icon on the digital dash for about 3-5 seconds, and then I would get a “red dot” error. Someone on 3Si mentioned they shorted the “green-orange and green-yellow” wires on the harness going to the “Compressor Lock Controller”. I didn’t know what any of that was doing, but I trusted in 3Si and did it. Nothing happened. The red-dot went away, but the AC never worked again.

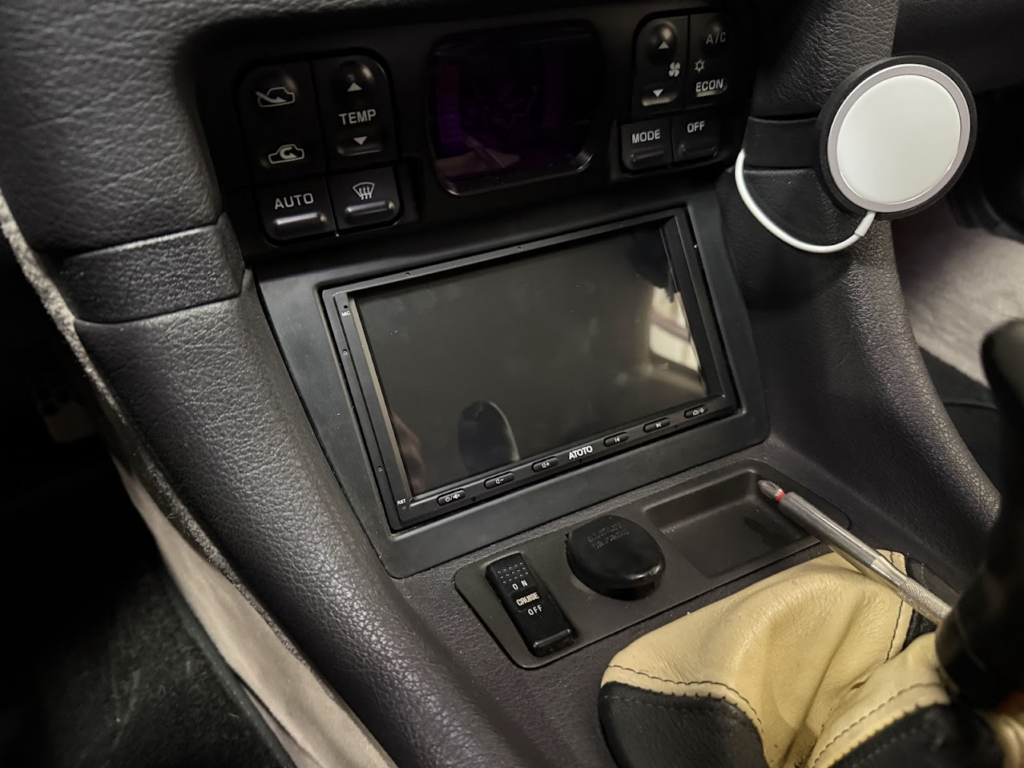
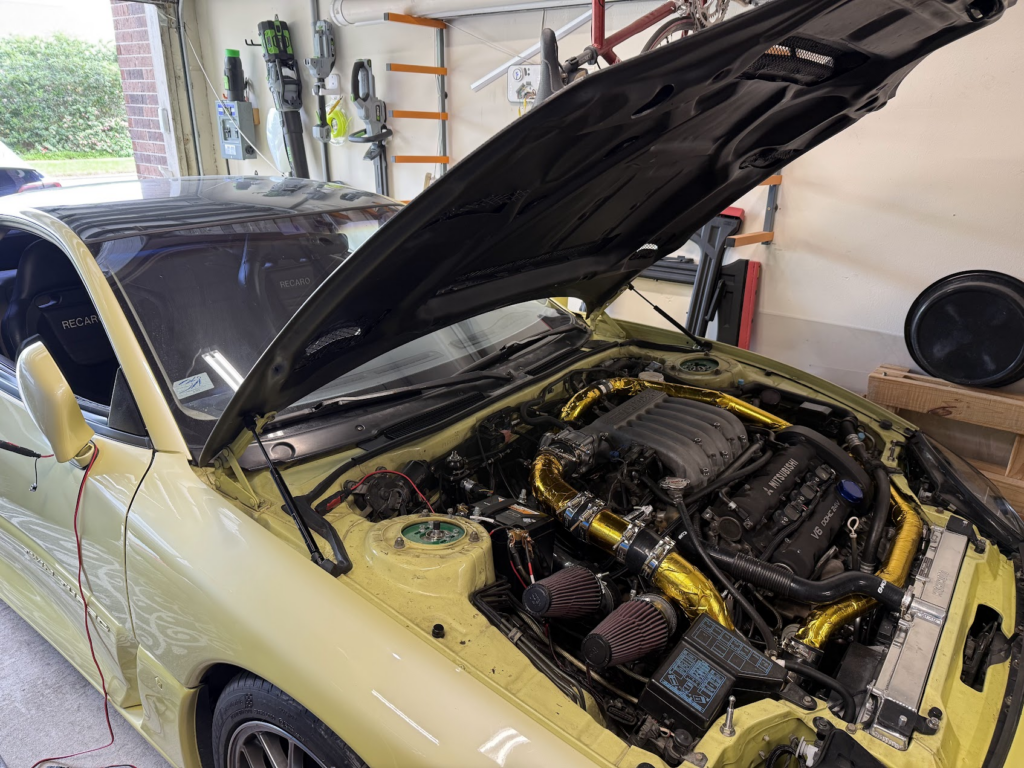
Skip ahead to spring of 2025. I just got the LinkECU installed, let’s see if I can get the AC going now too? The digital climate control died in the fall of 2024, so I sent it out to get replaced by a shop I found on eBay that happened to be in Houston. I replaced the Dryer & Expansion Valve, vacuumed out the system, it held vacuum for multiple days and I go to fill it and no luck. I can’t get the AC Clutch to engage. I look in the LinkECU and it is not receiving any signal to “enable” the AC. I gave up. Defeated.
Round 2!
Alright this year I was 100% going to get this working. Hell or high water it would work! I’d either fix it or throw money at it and replace everything in it!
First thing first is to remove the “short” green-orange and green-yellow wires from before. I needed to start with a clean slate. Upon doing that the red-dot came back! However I could tell the AC was actually working now for the 3-5 seconds that the snow flake was showing. So I posted on 3Si asking for help.
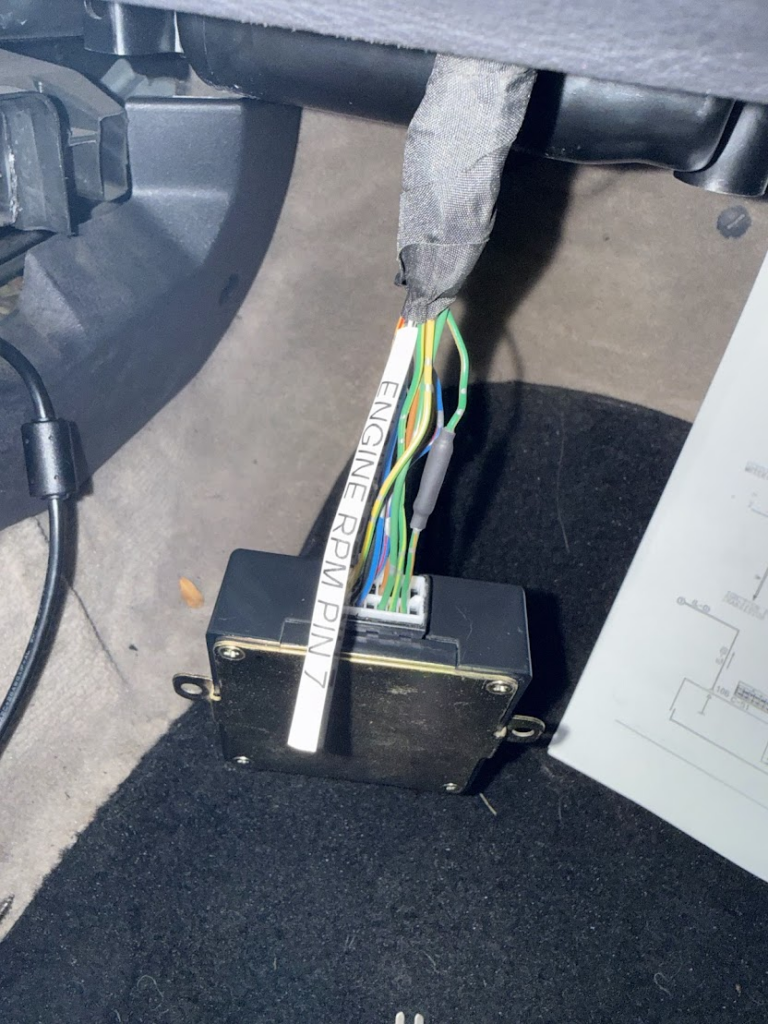
With the help of two great people paul93VR4 & AlmosN8kd we were able to diagnose the problem was the compressor has an RPM signal sent to the “Compressor Lock Controller” along with the Engine RPM. It does a “comparison” of the two RPM’s and if it’s within a specific percentage it will turn the clutch on. Well with the use of a oscilloscope I was able to determine that the compressor wasn’t sending any RPM signal.
I checked the actual AC the best I could without tearing everything out and as far as I could tell the sensor was plugged in and the wires weren’t destroyed. So I needed to find a way to “hotwire” this thing into working… I was able to short two of the wires (pins 13 & 15) on the lock controller, and then short pin 15 to ground with a resistor so that it would drain and disengage when the AC wasn’t requested. This worked, but it was a janky solution.
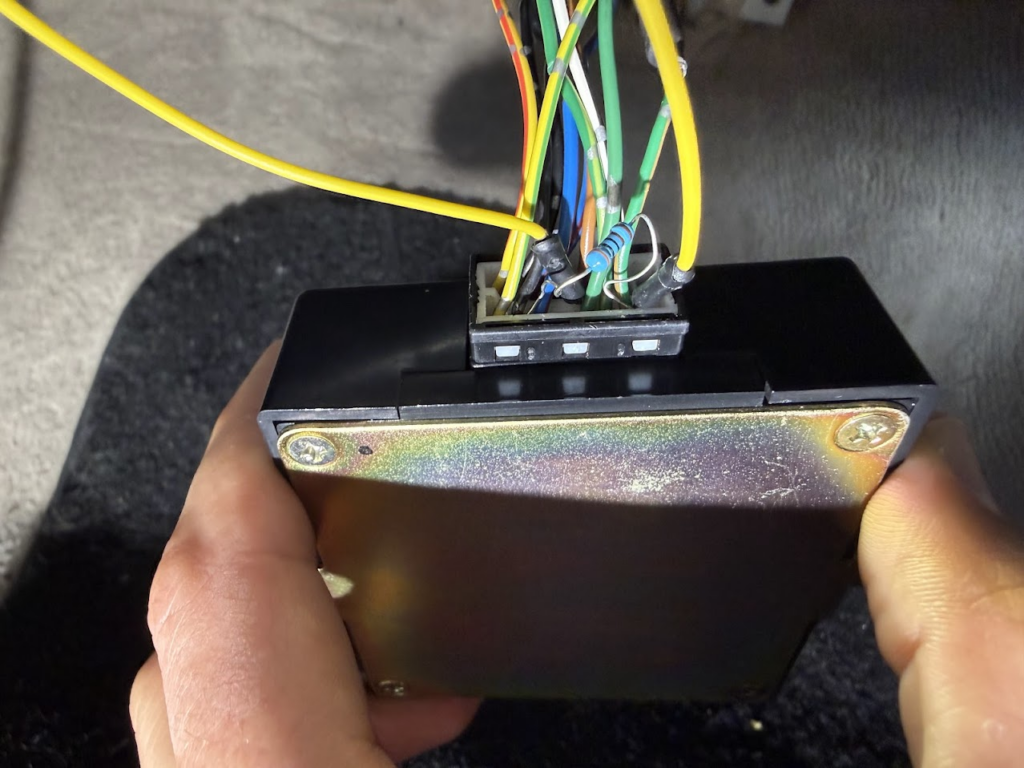
Then I pondered it and questioned “what if it didn’t have the engine’s RPM either?”… after a major struggle depinning this I was eventually rewarded with a working AC without a weird “short” or resistor hanging around. I labeled the removed pin with a heatshrink and closed everything back up.
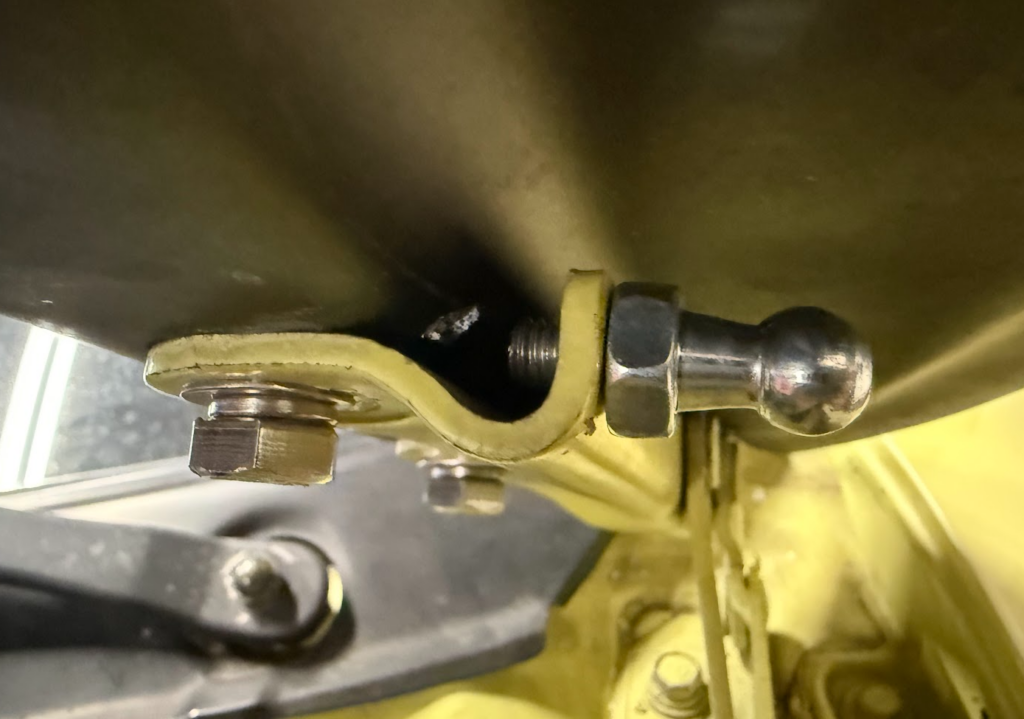
Now this isn’t perfect. If the AC seizes, I won’t know. The belt will snap and it can damage the timing belt. So I consider this a “solved … until” and that until is when I have to remove more of parts in the way of the AC so that I can really pull out the wires and test it out to determine if it’s the sensor or just a wire that got messed up.